PicoScope 7 Automotive
Available for Windows, Mac, and Linux, the next evolution of our diagnostic scope software is now available.

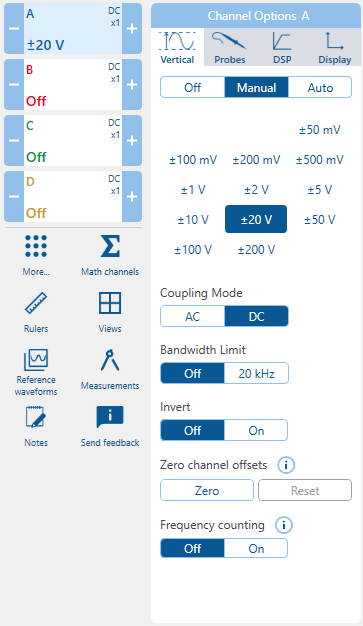
Most of the settings related to capturing, conditioning and displaying a measurement on one of your oscilloscope’s input channels are within the channels’ Channel options panels.
You can use Channel options to:
Please refer to the relevant sections of the A-Z of PicoScope for additional information about the features within the Channel options panel.
You cannot make sound diagnostic decisions if your waveforms do not accurately reflect the physical quantities you are measuring or cannot be clearly seen on screen. The Channel options menu provides everything you need to display the best possible waveforms just as you want so that you can draw confident diagnostic conclusions from them.
Click on the appropriate channel button (“lozenge”) to open the channel’s Channel options menu. Select from the Vertical, Probes, DSP or Display tabs to access the features you require.
